Automatic Numbering in Excel
Automatic Numbering in Excel
Numbering means giving serial numbers or numbers to a list or a data. In excel there is no special button provided which gives numbering for our data. As we already know excel does not provide a method or tool or a button to give the sequential number to a list of data, which means we need to do this by ourselves.
How to Auto Number in Excel?
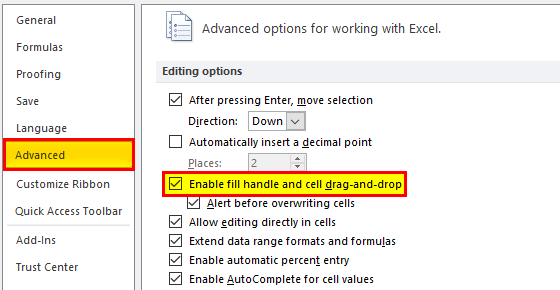
To do auto numbering in excel we need to remember that we have our autofill function is turned on. By default, it is turned on but in any case, if we do not have enabled or by mistakenly disabled autofill here is how we can re-enable it.
Now we have checked the autofill is enabled, there are three methods for excel auto-numbering,
- Fill a column with a series of numbers.
- Using row() function.
- Using offset() function.
#1 – In the file, tab go to options.

#2 – In the advanced section, under the editing options check the Enable fill handle and cell drag and drop.
Top 3 ways to get Auto Numbering in Excel
There are various ways to get automatic numbering in excel.
You can download this Auto Numbering Excel Template here – Auto Numbering Excel Template
- Fill a column with a series of numbers.
- Use Row() function
- Use Offset() Function
Let us discuss all the above methods by examples.
#1 – Fill the Column with Series of Numbers
We have the following data,
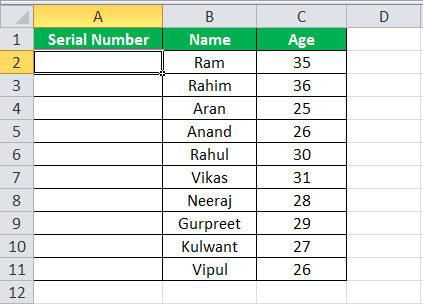
We will try to insert automatic numbers in excel Column A.
- Select the cell in which we want to fill. In this example cell A2.
- Write the number we want to start with letting it be 1 and fill the next cell in the same column with another number let it be 2.
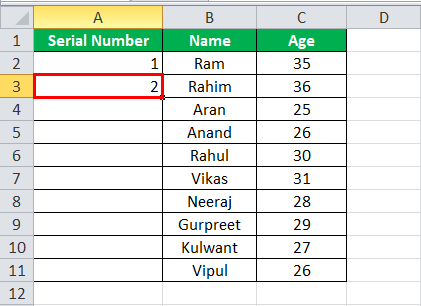
- We did the numbering 1 in cell A2 and 2 in cell A3 to start a pattern. Now select the starting values i.e. cell A2 & A3.
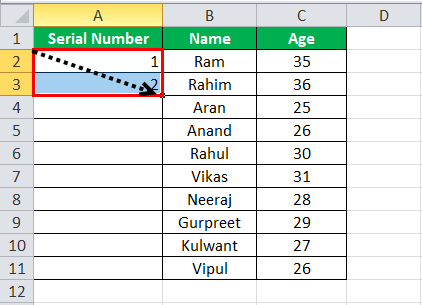
- The pointer ( dot) in the selected cell shown by the arrow, click on it and drag it to the desired range i.e. cell A11.
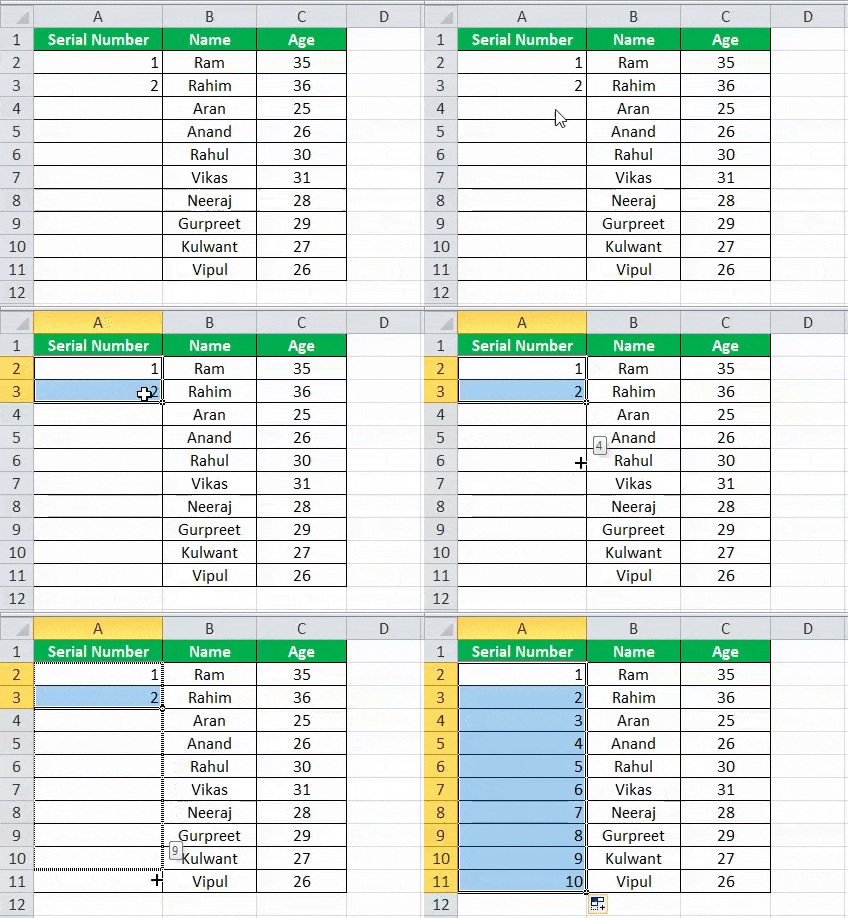
Now we have sequential numbering for our data.
#2 – Use ROW() Function
We will use the same data to demonstrate the sequential numbering by row() function.
- Below is our data,
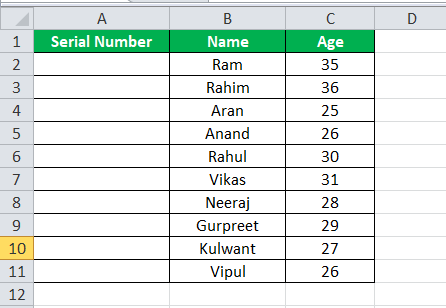
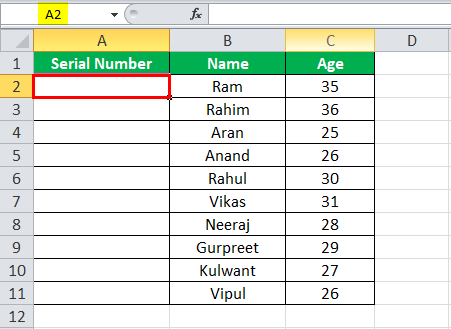
- In cell A2 or where we want to start our automatic numbering in excel, we select the specific cell.
- Type =ROW() in cell A2 and press enter.
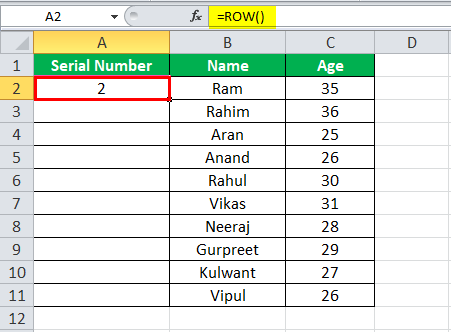
It gave us the numbering from number 2 because row function throws the number for the current row.
- To Avoid the above situation we can give the reference row to row function.
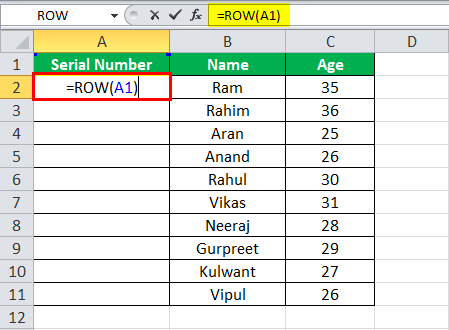
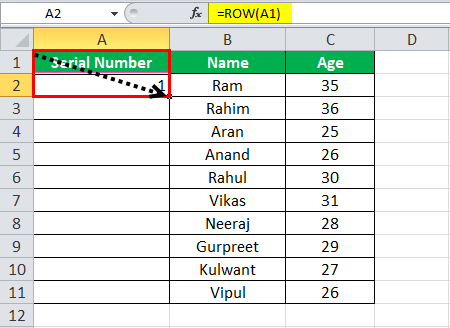
- The pointer or the dot in the selected cell click on it and drag it to the desired range for the current scenario to cell A11.
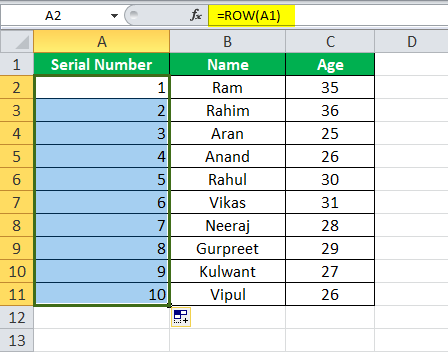
- Now we have our automatic numbering in excel for the data using the row() function.
#3 – Using Offset() Function
We can do auto numbering in excel by using Offset() function also.
Again we use the same data to demonstrate the offset function. Below is the data,
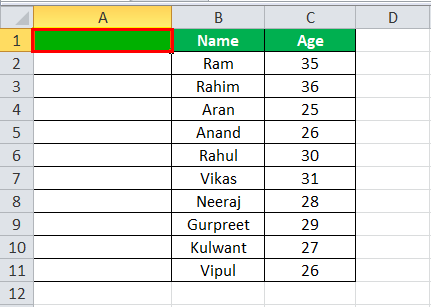
As we can see that I have removed the text written in cell A1 “Serial Number” as while using offset function the reference needs to be blank.
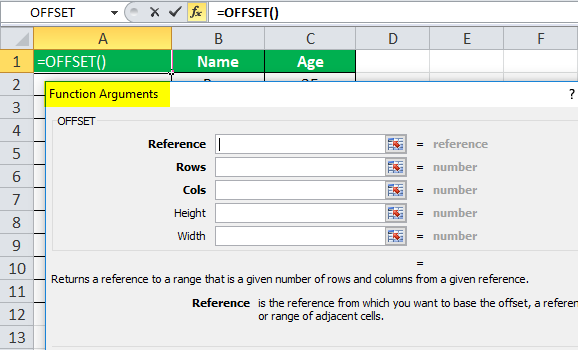
The above screenshot shows the function arguments used in the offset function.
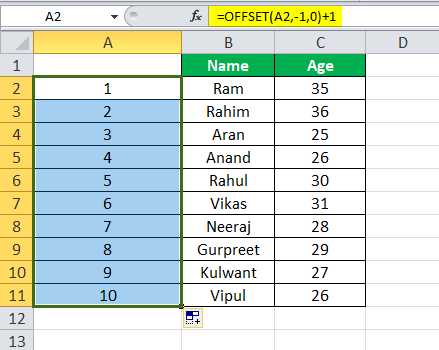
- In Cell A2 type =offset(A2,-1,0)+1 for the automatic numbering in excel.
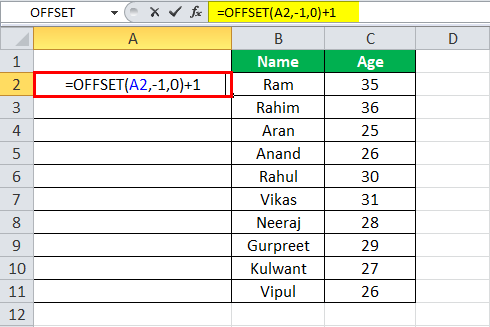
A2 is the current cell address which is the reference.
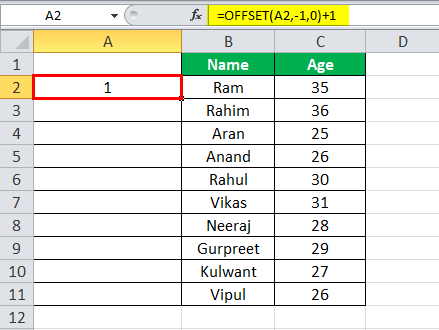
- Press Enter and the first number is inserted.
- Select Cell A2, Drag it down to cell A11.
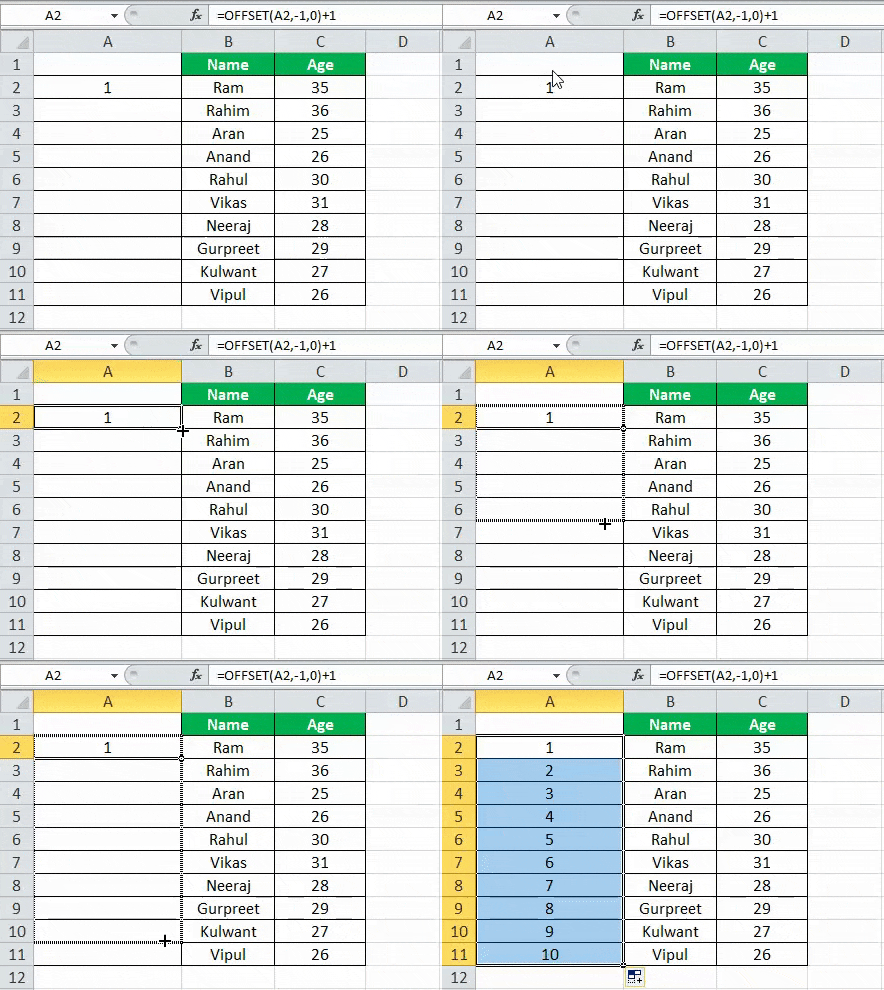
- Now we have sequential numbering using the offset function.
Things to Remember about Auto Numbering in Excel
- Excel does not auto provide auto-numbering.
- Check for Auto Fill option checked enabled.
- When we fill a column with a series of numbers we make a pattern, we can either use the starting values as 2, 4 to make an even sequential numbering.
📤You download App EVBA.info installed directly on the latest phone here : https://www.evba.info/p/app-evbainfo-setting-for-your-phone.html?m=1


Leave a Comment